Ritz’s version of sewn pony-o streamers
Materials needed:
Different prints or solids of 3/8 – 7/8 grosgrain ribbon
Scissors or rotary cutter
Wood burning tool or lighter (whatever you use to heat seal)
Straight pins
Sewing machine, or you can hand sew
Long needle (doll needle)
Thread
Hot glue
Pony-o
Formula used:
Take the length that you want the streamers to hang down, multiply by 2, and then add 1
Example:
I want my streamers to hang down 6”
6” x 2 = 12
12” + 1” = 13
Step 1:
Cut all of your ribbon (it’s up to you how many strands you want) to the length configured via the formula.
Step 2:
Seal your ends.
Step 3:
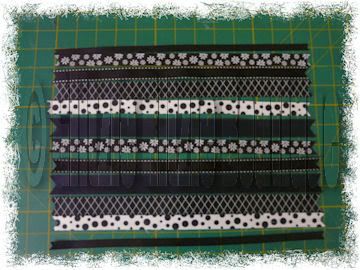
Lay your ends out in the order you want them.
 P>
P>Step 4:
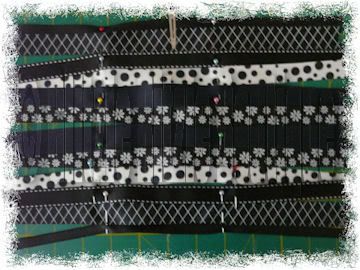
Find the middle of the ribbons, and go out 1” to the left
And 1” to the right. Start pinning then together (overlapping a tad bit).
don’t worry about what the ends look like, because they will still lay like they should. The alligator clip in the above picture is marking the exact middle of the ribbons.
Step 5:
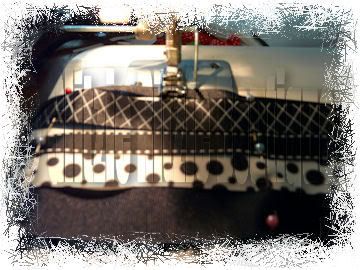
Now you are going to put the middle, where the alligator clip is,
Right in front of the needle on your sewing machine. Or if you
Opt to hand sew, this is the step where you would do that. If you do that, you only need about two stitches in each ribbon, or on stitch in each ribbon and one joining the ribbons together.
Step 6:
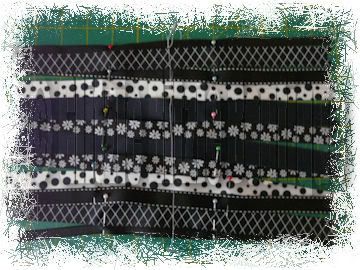
This is what it should look like, roughly:
At this point you want to take the needles out, or it will be a
Bit painful for you.
Step 7:
With your doll needle threaded and knotted, start weaving
It through all of the ribbon strips.
***
NOTE: in this tutorial, I didn't use my Gator Bite. Normally I do, but I was pressed for time, during the writing of this tutorial. Also note that the way that you work your ribbon during this step determines how each ribbon will lay when you adhere the pony-o and center.
***
Step 8:
Pinch all the ribbon down
Step 9:
Bring your needle all the way through and wrap it around.
I wrapped mine approx 8 – 9 times.
Step 10:
Place Pony-O at the bottom of the streamers.
Start wrapping thread around streamers and pony-o.
Step 11:
Tie it off. Where you tie it off is irrelevant, because it’s going to be
Covered up anyhow.
Step 12:
Adhere your center piece.
For streamers I do a flap piece of 3/8” ribbon.
I start from the top and work my way right (or bottom – depending
On how you are holding it), and keep
Wrapping until I end at the bottom.
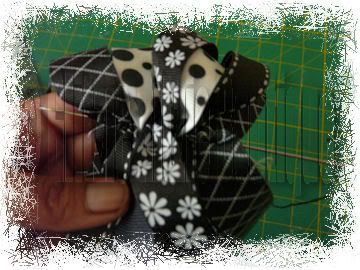
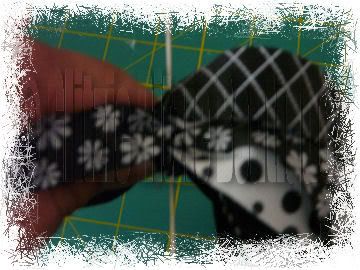
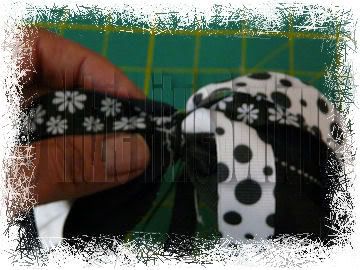
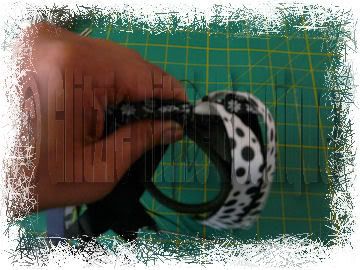
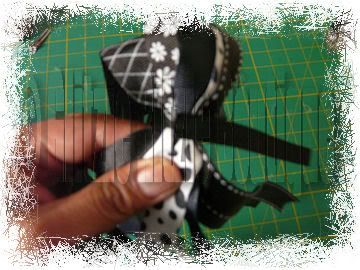
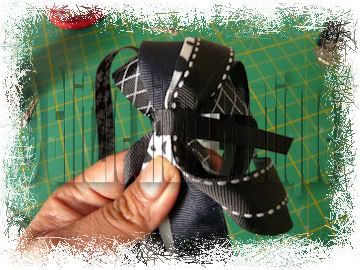
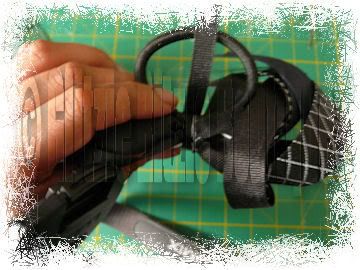
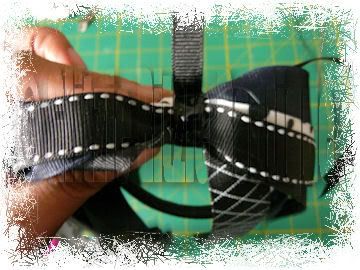
Here are some pics to show you, if you can tell, from the pics.
Starting at top:
gluing right side (or bottom):
still gluing around:
gluing last bit, to end at bottom:
And then you’re done!
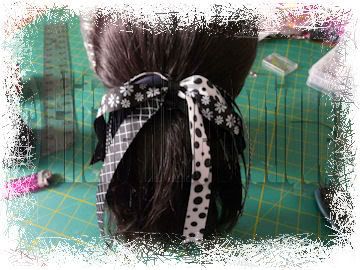
Finished pony-o:
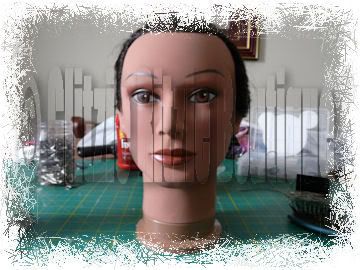
And in case you’re wondering…this is what my model
Miss Jenny looks like from the front:
© Ritz Young
of Glitzie Ritzie Boutique
Please do not distribute without permission.
You are welcome to print for your own personal use.
Do not share with other groups, without written consent
Ritz H Young.
glitzieritzieboutique@gmail.com

2 comments:
Great job Ritz!! I never thought to use my sewing machine. I'll have to give it a try!!
Hey this is great Ritz! Thanks for sharing...
MommaOh
Post a Comment